A complete Guide on Plastisol Screen Print Transfers

If you are new to the screen-printing business or thinking about learning screen print transfers, this guide is for you. Screen printing art has always been popular around for centuries. It seems complicated, but it's easier to create screen print transfers.
With the new and easy-to-use tool, you can make the best custom designs and show off your creativity. In this post, you'll learn what’s screen print transfers, the needed tools for screen print transfers, and how to make screen print transfers without any problem.
Let's get started!
What is Screen Print Transfer?
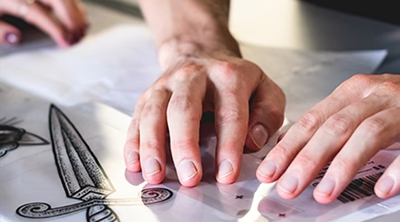
Screen-print transfers are designs in reverse printed onto a type of release on transfer paper. The ink is covered with powder and gelled, which allows you to store the printed designs to use later. After putting the paper ink side down on the receiving surface like a garment or t-shirt, apply high heat, which causes the ink to transfer from the paper to the fabric. There are various types of screen print transfers, but one of the most popular is to screen print transfer a design onto the transfer paper using plastisol ink. The benefit of using a screen print transfer is that you can make many designs simultaneously and save them for later use.
How to make a screen print transfer?
Here are some steps on how to make plastisol screen print transfers:
- Start with following the instructions that are mentioned in the package. Mix the photo emulsion and sanitizer in a dark room in the required quantity and add water.
- With the screen side facing up, put the mixture across the base corner of the screen, and with a squeegee, drag it into a smooth layer over the screen surface. Fit your squeegee inside the wooden lath of the frame to apply the emulsion. Now turn the screen, which allows you to see the internal screen, and do it again.
- Leave the screen for a minimum of 8 hours in a dark place to dry. Now prepare your image for the stencil screen. You can make a simple design using Cricut, but you'll want to design a program that shows color separation for advanced work.
- Print the design onto a transparency sheet, or if you want to make a multicolor print, then print one sheet for each color layer.
- Now, you can place the light exposure with the dry emulsion screen and ready design. Set a shining bulb at least 150W and the light a little distance from where you plan to place the screen.
- After this, place the transparency sheet down on the screen's backside. Turn the light on and expose the screen for 50 minutes to one hour.
- Take the screen to the open space and sprinkle cold water over it. Let the screen dry before using it to screen print with plastisol ink onto transfer sheets.
Conclusion
In conclusion, with the help of the above-given guide, you can easily make your screen print transfers without any hassles. You can quickly create excellent screen print transfers with the right tools and materials. So go and start making your screen print transfers.
.webp)

Comments
Post a Comment